We have made your moss wall art easy to install!
Moss wall art is unique and inspiring, so show it off! We’ve received some questions from our wonderful customers about how to install our pieces, so we’d love to explain!
HOW
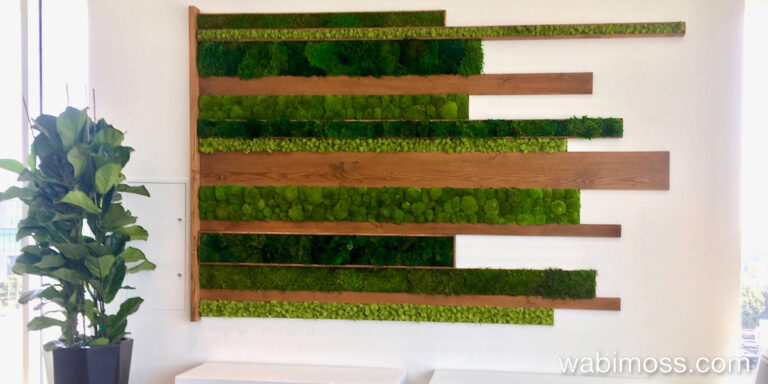
Our moss art’s frame has extended edges that are to be used as a “hook.” In addition, it’s lightweight, so it does not require a lot of support. The indentation is deep enough so that a screw or nail will be able to hold the moss wall art safely.
First, find a good spot where you’d like to hang it. Depending on the size, install one or two screws into the drywall. If you are hanging the moss wall art by its shorter side (the 18” or smaller side), you only need one screw! But if you have a larger piece, such as our 18×36” piece, and would like to hang it horizontally, we recommend at least two screws for each end.
Second, place the edge of the frame onto the screw. The part of the screw emerging from the wall should be under the lip of the frame (where the frame becomes indented). That’s it! It’s all ready to go!
WHY
Why have we decided not to include any wires or hooks on our art? Because we want you to show off your moss wall art any way you please. Some prefer the artwork horizontally, while some prefer it to hang vertically. Some like the driftwood to be on this side, or that side. It’s completely up to you! You can flip it around to get it exactly how you like. The frame is made to support the artwork at any orientation so that you get exactly what you want.
We hope this helps. If you have any questions, feel free to contact us at any time. Don’t forget to follow our social media pages for more news and pictures!
Recommended Reading:
For a full overview of moss wall art ownership, visit our moss wall art guide — click here. You may also want to read about how moss art is shipped — click here — and warranty considerations — click here.